Still hungry?
Explore more recipes.
Enjoy your yogurt plain or topped with fresh fruit or muesli.
If you want more ideas on how to use your yogurt, check out some of our recipes below!


Explore more recipes.
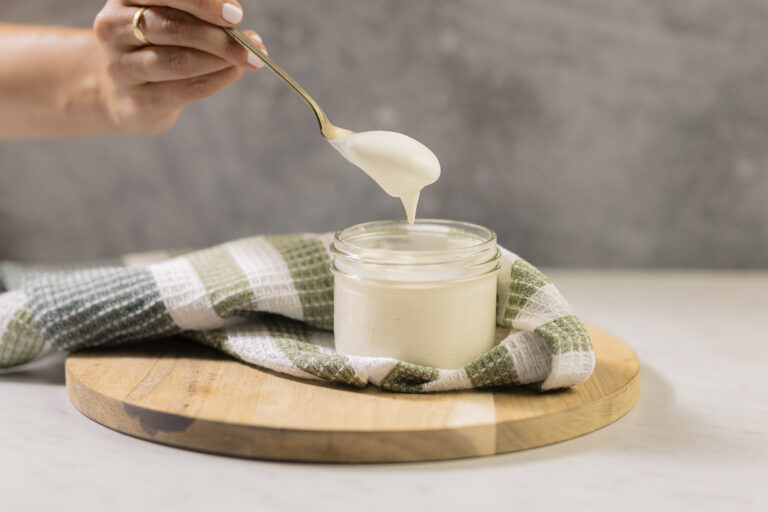
Sour cream is such a versatile ingredient to have on hand for soups, dips, desserts, and more.
Read more
15 mins
10-15 mins
45 mins
Fresh mozzarella is best enjoyed, well, fresh, but can be wrapped tightly in cling film and stored up to 1 week in the refrigerator or frozen up to 3 months.
Read more
10 min
10 min
20 min